

Ever wondered how to make your card just a little bit more special?
Creating a lining for an envelope is a very simple way to add a bit of sparkle to a special card.
And the good news? It’s really simple :)
And what’s even better, if you don’t have any pretty paper lying around, you can download a gorgeous hand-lettered lining for free. Keep reading!

You will need
- The envelope you want to line
- Some patterned paper
- A pencil
- A ruler
- Scissors
- Glue
Step 1:

Step 2:

Step 3:

Slot the patterned liner into the envelope. You may need to trim the sides again to get the perfect fit.
Step 4:

Glue the lining into place. Any type of glue will do, but use it sparingly or the paper can go curly.
And there you have it, a beautiful lined envelope!

And, as promised, here’s a little freebie for you...
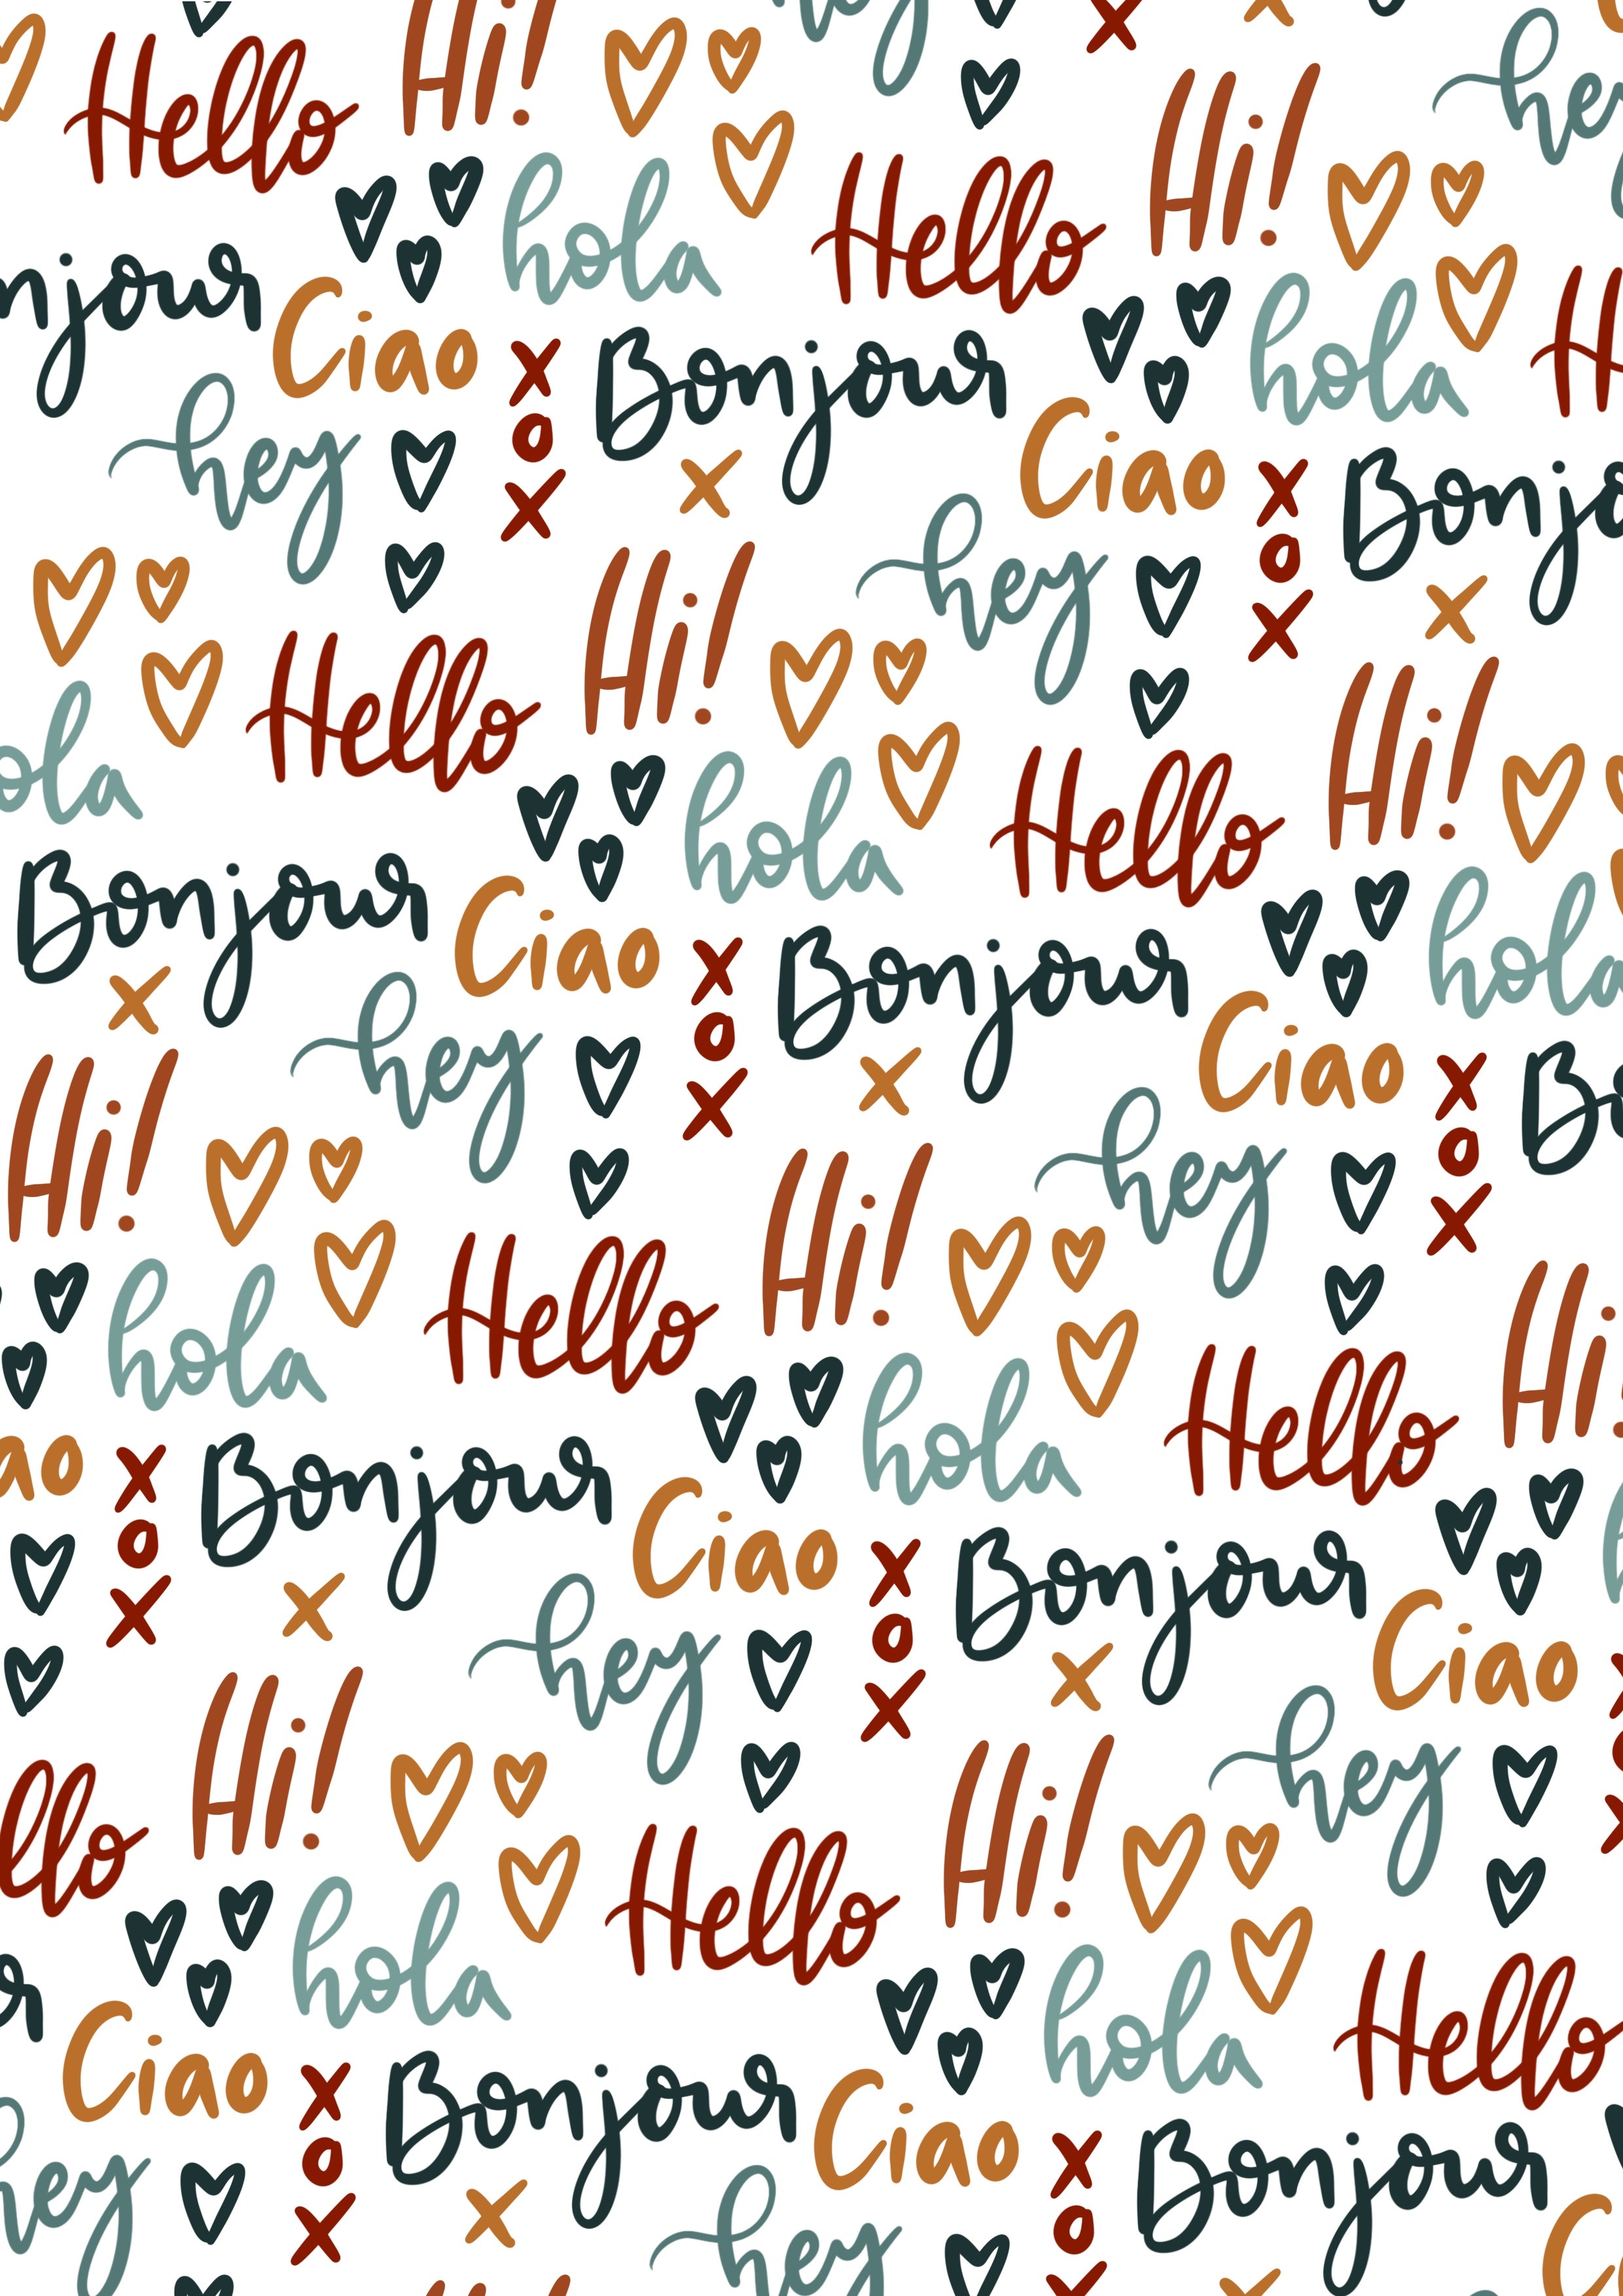
If you’d like to create the look above for your cards, download the FREE ‘hello’ lining here. (Once you’ve clicked on the link you can then save the image to your files or email the image to yourself)
Then just print it out and follow the steps above to create a gorgeous lining for your cards.
And there you have it, a simple way to add a bit of extra ‘pop’ to your cards!
I’d love to see your finished envelopes, tag #the_lettering_tree on instagram to show off your beautiful creations :)